


How to Use a Car Jump Starter? step-by-step instructions
1. How to power up the jump starter?

Press the "Light" or "Power" button to power up the jump starter;

2. How to use the jump-start function?
Method one: Normalstart
●Connect the alligator clamps with the EC8 connector to the jump starter;
●Connect red (+) clamp to the positive (+) terminal on the vehicle battery and the black (-) clamp to the negative (-) terminal on the vehicle battery, and make sure that the connections are good;
●Press the "Light" or "Power" button to power on The green light on the screen will light up and flash if there are no issues. At this time, you’ll be able to start your vehicle.
●If the vehicle starts successfully, the jump starter will automatically disable the power
●In most cases, the vehicle will be able to start immediately after the jump starter has been Some vehicles may need to be connected to the jump starter for 30~120 seconds (the product will charge the car battery at this time) to continue the operation. If the vehicle does not start immediately, Please wait 20-30 seconds before each attempt. Do not attempt more than five times within 15minutes.
●Please move the jump-start clamps from the car battery instantly after you finished Pressing the “Power” button for 2 seconds to shut down the jump starter.
●If there are no operations for 60 seconds, the product will automatically shut down;
Method two: Forcedstart
Safety reminder: Under the forced start mode, part of the safety protection mechanism is invalid. Be sure to connect the positive and negative poles correctly, otherwise, it will cause a short-circuit. So please check the instruction manual before operation and use it with caution.
At this time, the normal start mode fails to start, g:the voltage of the car battery is very low (the voltage is less than 1V), you can use the forced emergency start function after checking the operating specifications in the manual;
Connect the alligator clamps to the EC8 connector on the Jump-Starter;
When the jump starter is on, tapping and holding on the "BAR/PSI" button for 5 seconds will enter forced start At this time, the green light on the screen is always lighting, which means that the output ignition clips are normally turned on. At this time, you must prevent the positive and negative poles from being short-circuited; (In this mode, it is required to turn on the forced start function first, and then connect the ignition clips to the car battery, otherwise, the output cannot be turned on);
Connect red (+) clamp to the positive (+) terminal on the vehicle battery and the black (-) clamp to the negative (-) terminal on the vehicle battery (during the connection process, there will be a slight sparking phenomenon, which is normal) and make sure that the connections are good; At this time, the overall voltage of the jump starter connected in parallel with the vehicle is displaying on the screen, then you can jump-starting the vehicle;
 clamp to the positive (+) terminal on the vehicle battery and the black (-) clamp to the negative (-) terminal on the vehicle battery")
Shortly press the "Power" or "BAR/PSI" button to exit.
3. How to use voltmeter function
Connect the alligator clamps to the EC8 connector on the Jump-Starter;
Connect red (+) clamp to the positive (+) terminal on the vehicle battery and the black (-) clamp to the negative (-) terminal on the vehicle battery, and make sure that the connections are good;
At this time, the green light on the main interface flashes, and the overall positive and negative voltages of the starting power supply connected in parallel with the car are displayed at the same time and it enters the starting mode. To check only the voltage of the car battery, short press the "ON" button to exit the starting mode and enter the measurement Mode, the "green light" goes out, the display only displays the voltage value of the car battery, so as to determine whether the battery is damaged;
Disconnect the alligator clamps from the vehicle battery and exit the voltmeter function
4. How to use the air inflator function?

The air hose is connected to the output port of the air inflator, and then tighten the nut, and the other end is connected to the car tire;
Towake the product (short press the "Light" button or short press the "Switch" button) to enter the air inflator mode;
Short press the "BAR/PSI" button to switch the pressure unit of tire pressure: BAR, PSI;
| Pressure conversion table | Unit | bar | hPa | PSI | kgf/cm2 |
| Value | 1 | 100 | 14.5 | 1.02 |
To set the target tire pressure value, you must first know the tire pressure requirements of the (For the standard tire pressure value of the tire, you can check the pressure value mark on the tire, or check the manual of the inflated product), set the target tire pressure value by pressing "+ -". After setting, the value will flash for 3 seconds, exit the setting state and enter the real-time monitoring state of tire pressure; (Safety reminder: If the target tire pressure value of the tire is not set, directly turn on the air pump. At this time, the air pump will not automatically charge and stop. It needs to be turned ou manually. If the tire pressure is not monitored in real-time, there will be The risk of excessive tire pressure or puncture)
Long Press the "PUMP" button for 3 seconds to turn on the air When the tire pressure reaches the set value, the air inflator will be turned ou automatically. To turn ou the inflator manually: press the "PUMP" button or the "Switch" button;
Remove the air hose(Safety reminder: During the inflation process, the heat generated by the air inflator will cause local high temperature. Please leave the product for 10 minutes to dissipate heat before removing the inflation tube to prevent scalds)
5. How to use LED light?
Long press the "Light" button for one second, the LED lights up;
Short press the "Light" button in order to switch the modes of ON, Strobe, SOS, and OFF;
Long press the "Light" button for two seconds to turn ou the LED light forcefully.
6. How to charge your jump starter
You will need the following:
a USB power adapter (5V output USB power adapter or 9V2A USB power adapter if QC protocol supported) and a USB To Type-C cable.
Plug the USB plug/A Port into the power adapter and the C port into the jump starter‘s charging port. At this point, the battery indicator and the "In" icon on the screen will turn on, indicating that the product is charging;
7. How to use the 5V USB-A port to charge your mobile phone
You will need the following:
USB To Type-C cable and a mobile phone (if the mobile phone supports 9V2A of QC protocol, it can support 9V2A fast charge)
When the "USB" icon on the screen light up, plug the USB plug/A Port to the jump starter and the C port into your mobile device;
The jump starter introduced in this article is an OEM case of Grepow. If you are interested in jump starter products, please don't hesitate to contact us at any time!
Email: info@grepow.com
Click here for more information on jump starter: https://www.grepow.com/jump-starter.html


Related Articles
-
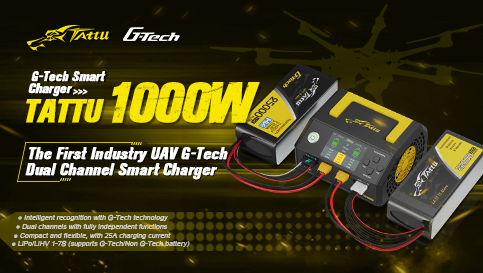
Tattu TA1000 Dual-Channel Smart Charger: The Versatile Charging Solution
2024-02-29 -
12V UPS Battery FAQs
2024-01-18 -
DC UPS vs AC UPS: What’s the Difference?
2024-01-11
Related products
-
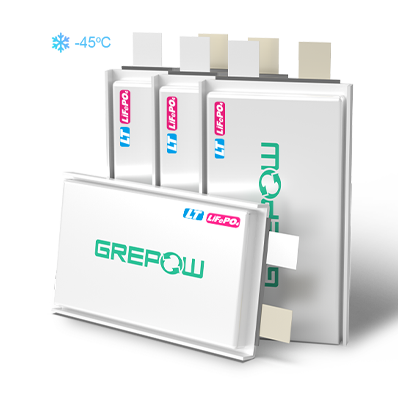
-45℃ Low Temperature LiFePO4 Battery
-
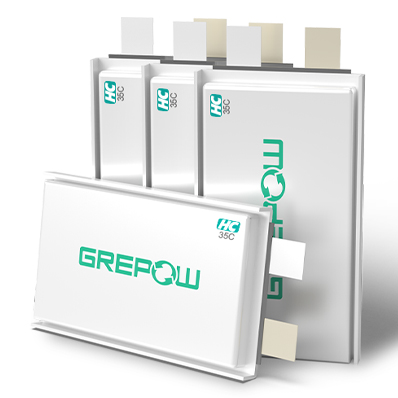
35C High Discharge Battery - High C Rate LiPo
-
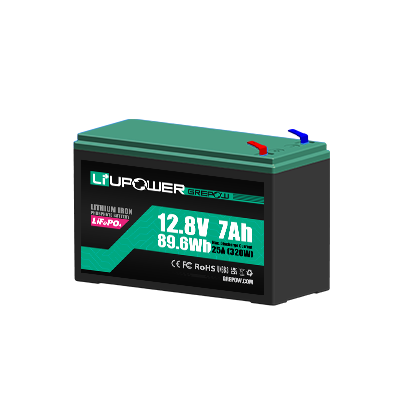
High C Rate LiFePO4 Battery
Comment(0)
Comment( Your email address will not be disclosed. Required fields are marked as * )